
Set up your first campaign
Campaigns lets you proactively reach a targeted segment of your contacts with a WhatsApp message, sent through one of your bots. Every campaign starts from a Meta-approved WhatsApp template and then hands the conversation to a Campaign Flow you build in Flow Builder — so you control not just the first message, but what happens after the customer replies.
This article walks you through creating a campaign, from the prerequisites to saving it as Ready to launch.
Before you start
A campaign needs all of the following. If any are missing, Campaigns tells you exactly what's needed and links you straight to the right setup area — and saves your progress as a draft while you go.
- A bot with a connected WhatsApp channel
- Contacts imported for that channel
- A Meta-approved WhatsApp template
- A published Campaign Flow
- An audience of at least one contact
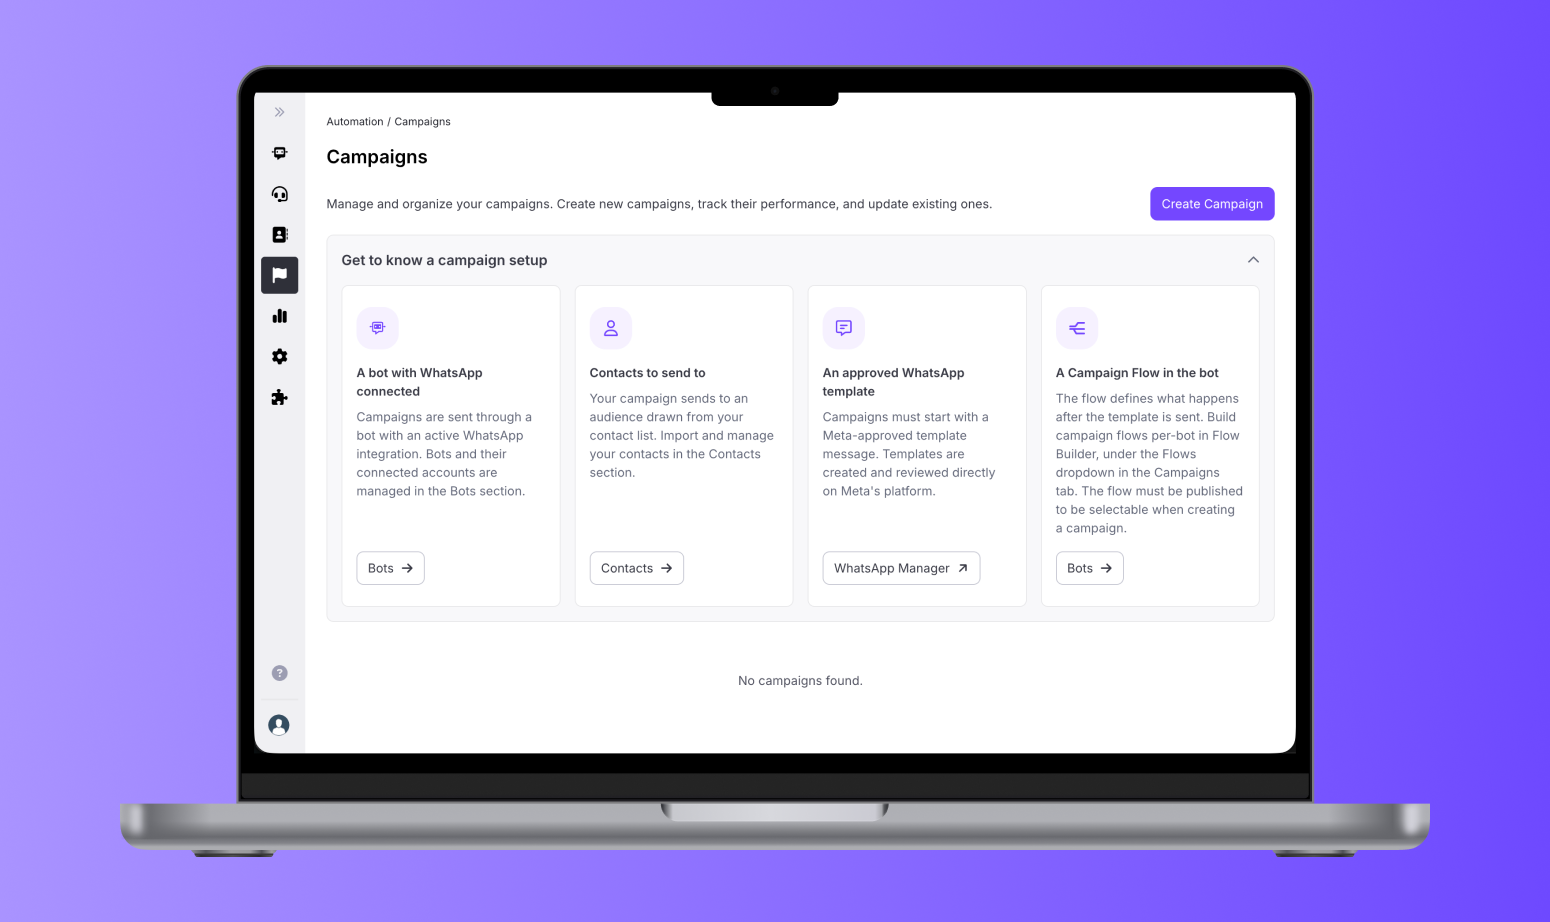
Create a campaign
1. Open Campaigns
Go to Campaigns and select New Campaign. If it's your first campaign, review the setup checklist first — it walks through the prerequisites above.
2. Add the basics
Enter a campaign title, then choose the bot that will send the campaign and the WhatsApp channel connected to it.
If the bot has no WhatsApp channel, select Go to Bot to connect one. Your campaign is saved as a draft automatically so you can pick up where you left off.
3. Select a Campaign Flow
Choose the Campaign Flow that runs when a contact receives the campaign. If you don't have one yet:
- Select Open bot in Flow Builder — Hubtype creates a starter flow with a Flow Start and a Template node.
- Open the Template node and select an approved WhatsApp template.
- Build and publish the rest of the flow.
Your template must be approved before the flow can be used.
4. Define the audience
By default, your audience is every contact imported for the selected WhatsApp channel. Narrow it with filters, and watch the audience count update live. For the full detail on filters and AND logic, see “Target the right audience.”
5. Choose when the campaign activates
Depending on your configuration, campaigns can start:
- On launch — when you manually launch it.
- On drop-off — when a contact reaches the configured drop-off condition.
For on-launch campaigns, the audience is captured as a snapshot when the campaign starts. Contacts added or removed afterward don't change that execution.
6. Configure delivery
For on-launch campaigns, choose how fast eligible contacts are reached:
- Send to everyone at once — processes the audience as fast as provider and platform limits allow.
- Send in batches — caps how many contacts are processed per hour, using a rolling 60-minute window. Use this to control campaign volume and not overload your contact center if the campaign ends in a handoff to a human agent.
On-event campaigns follow their event-based rules instead.
7. Add AI Agent context (optional)
Add a short note telling the bot what the campaign is for. If you have an AI Agent configure it in your bot, it uses this context while the Campaign Flow runs, so its responses stay on-message. For example:
“This campaign promotes our summer collection. Highlight free shipping and exclusive benefits for VIP customers.”
8. Review and save
Check the campaign Summary — title, channel, flow, audience filters, trigger, start/end dates, delivery mode, and AI Agent context. From here you can return to an earlier step or save it as a draft.
Drafts and incomplete setup
Campaigns saves your progress automatically. If you leave to configure a bot, connect a channel, create a flow, or add a template, your work is kept as a Draft. Return to Campaigns, open it from the Drafts section, and continue. Drafts are never sent to contacts.
Prefer a visual walkthrough? Watch this video to see how to create a campaign in Hubtype, from the initial setup to saving it as Ready to launch.
Find all the resources you need to set up and send campaigns in the Engage section of our Help Center.
FAQ
What happens if I leave campaign creation?
Your progress saves automatically as a draft; resume it from the Drafts section anytime.
Can I launch without an approved template?
No. The Campaign Flow must use an approved WhatsApp template before it can be published and launched.
I can't select a WhatsApp channel — why?
The selected bot has no connected WhatsApp channel. Select Go to Bot, navigate to the Integrations tab, connect one, and return to your saved draft.
I can't select a Campaign Flow — why?
You need a published Campaign Flow for that bot. Create one in Flow Builder; it must include the template setup and be published before it's selectable.
I don't see an approved template — why?
Create or approve your template in WhatsApp Manager. It must be approved before the flow can be published.